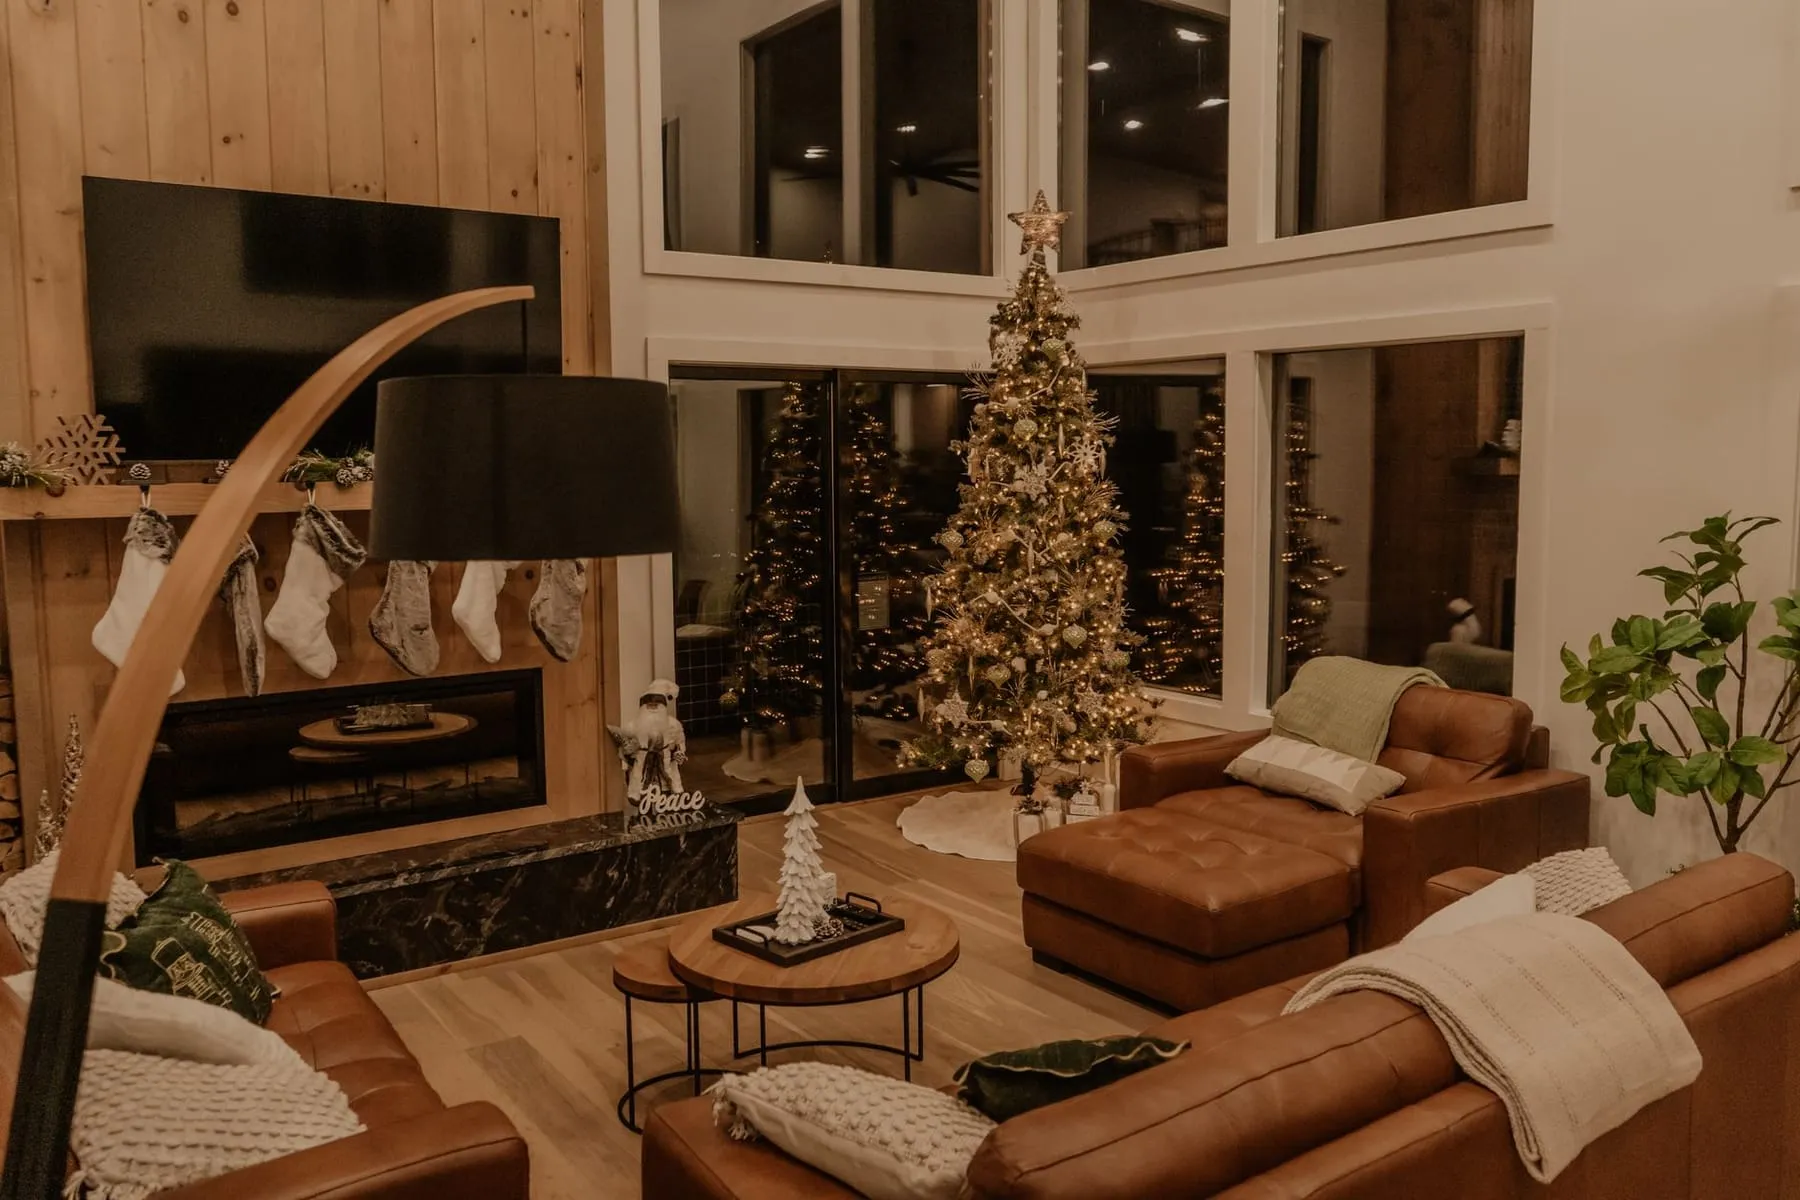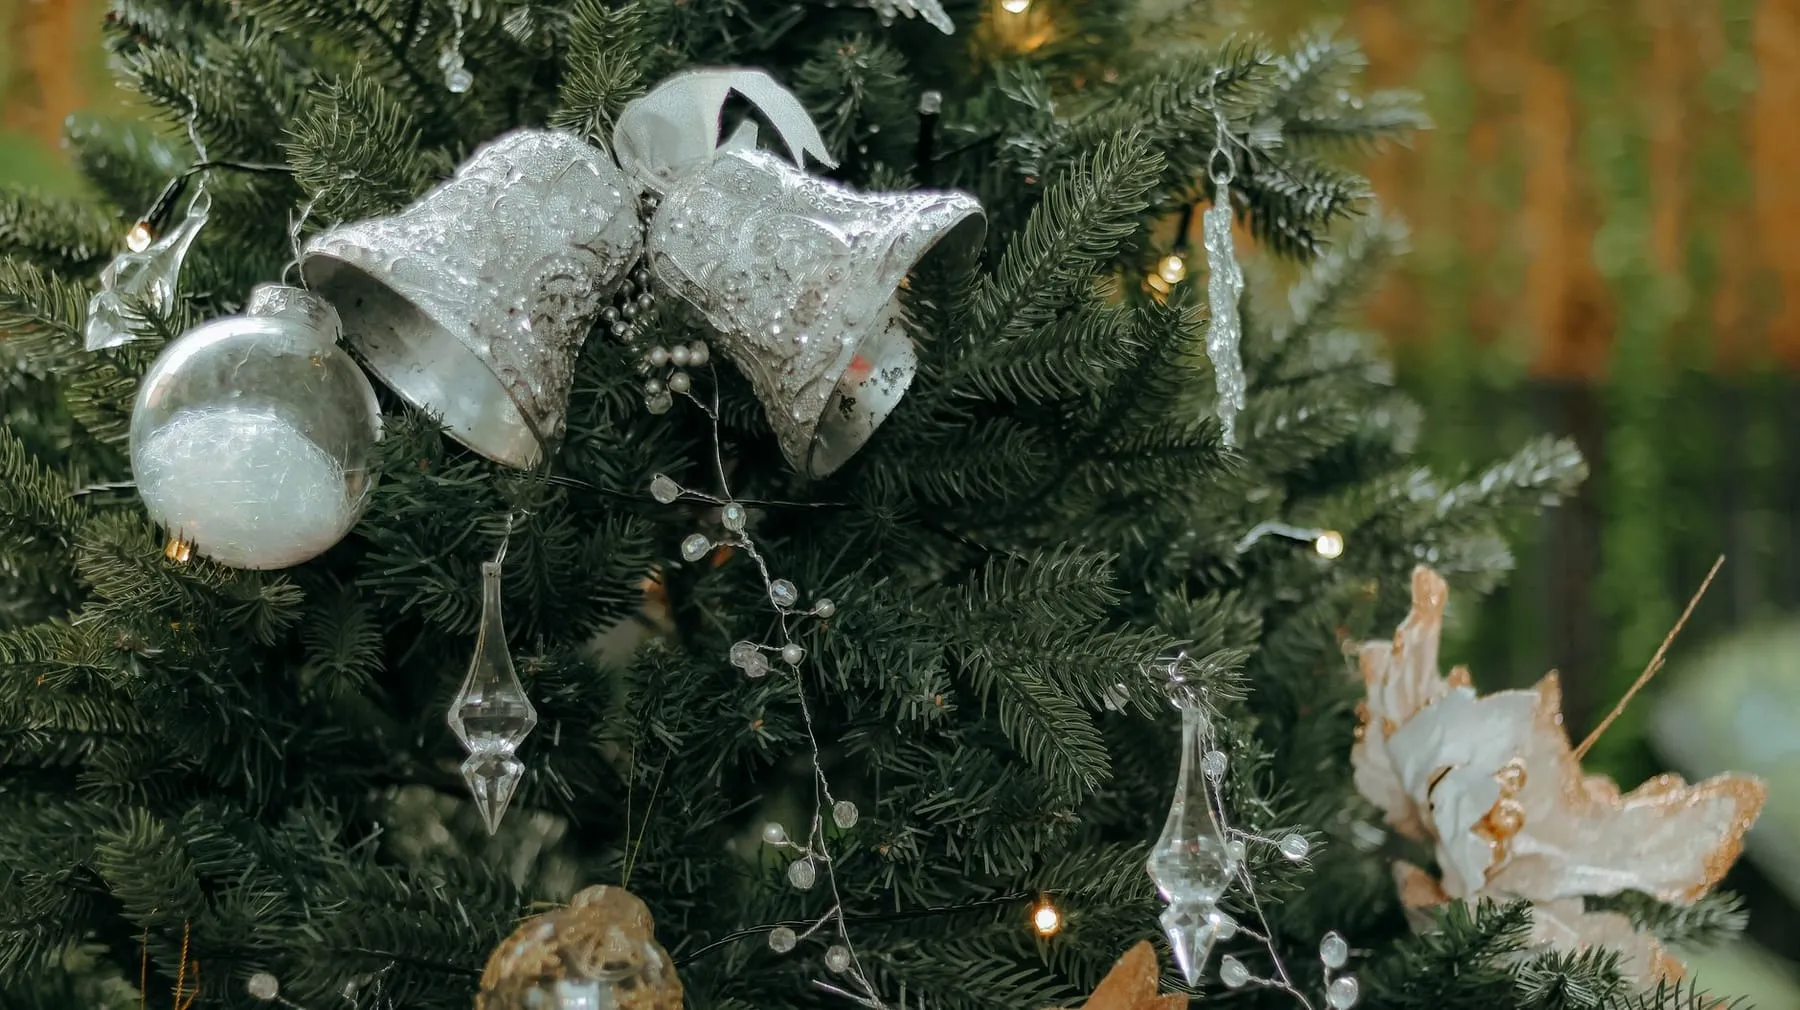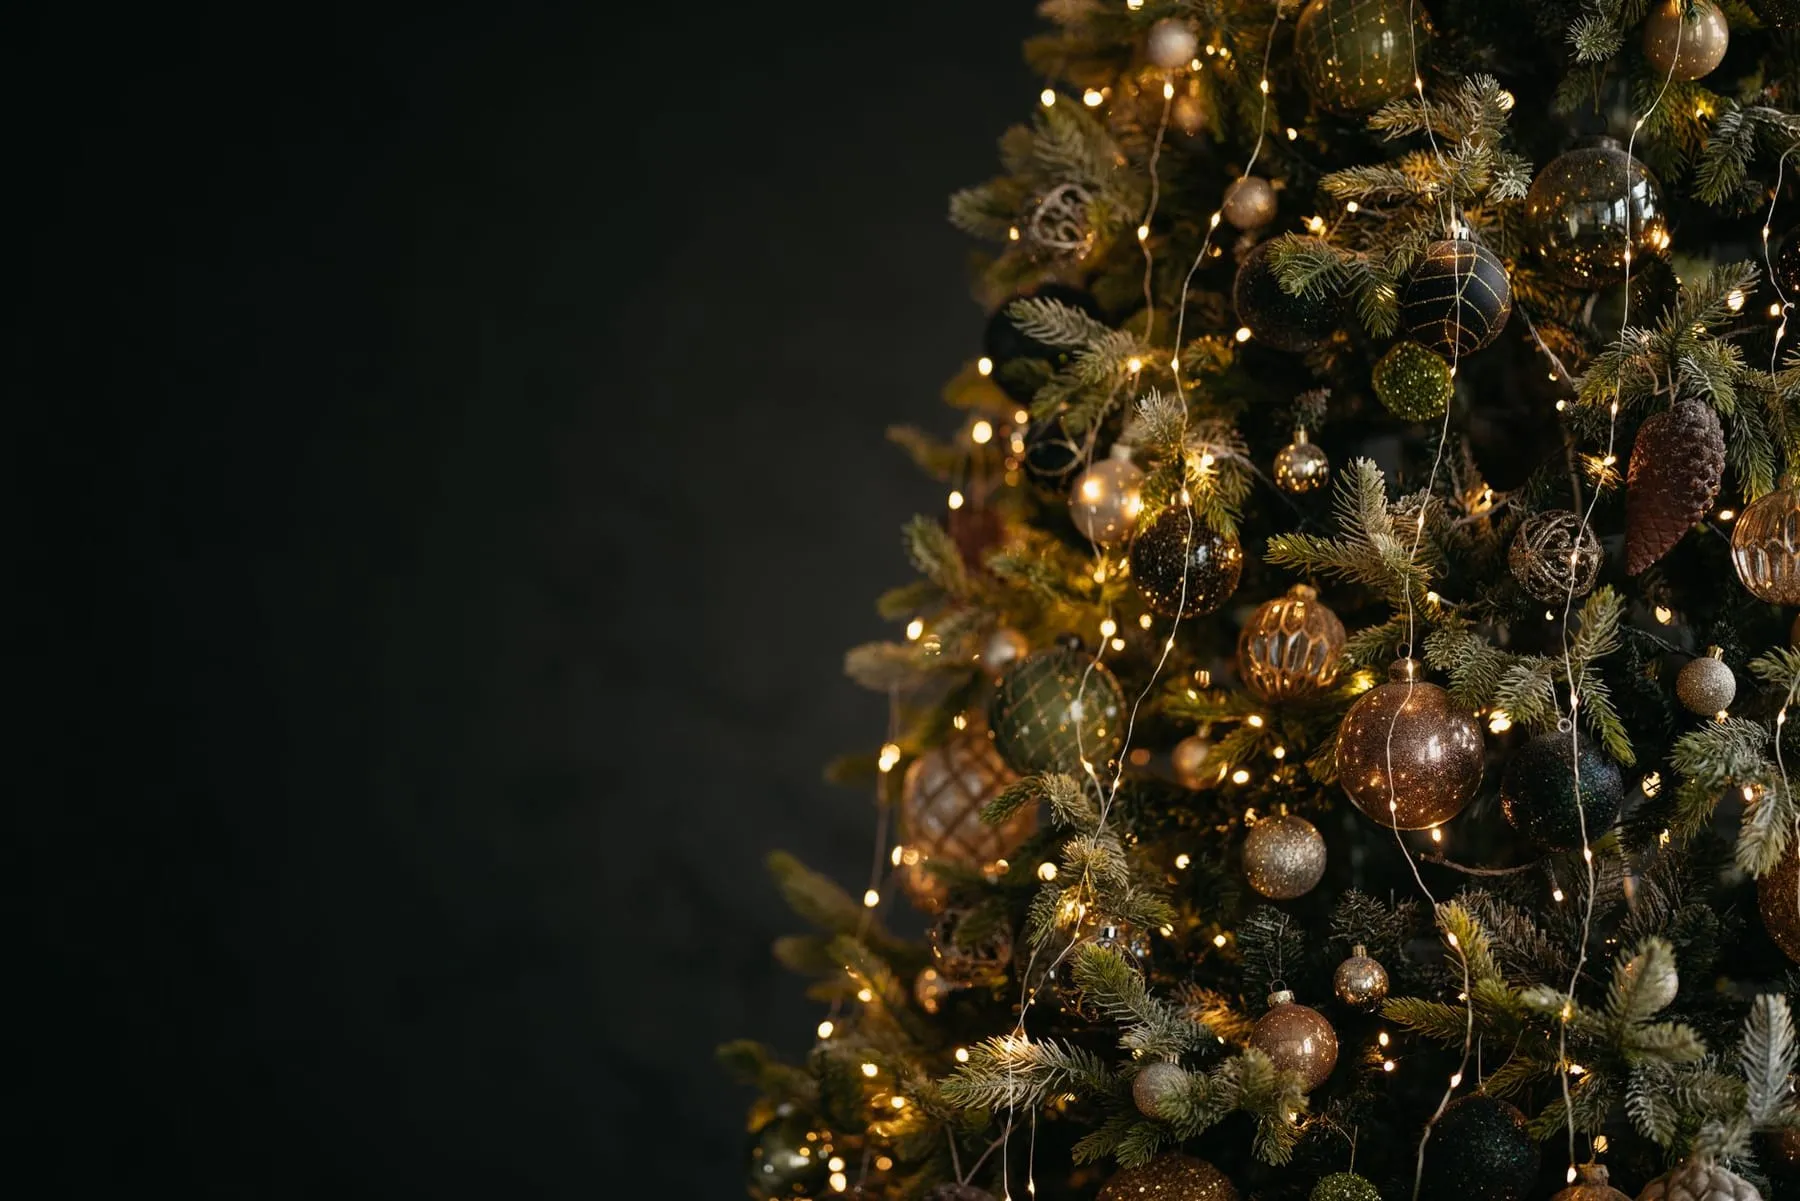
There are two ways to light a tree. You can walk round it spiralling the string over the outside, or you can tuck the lights into the branches so the whole tree glows from the inside. The second takes a little longer, but it is the difference between a tree that looks lit and one that looks magical.
This guide walks through the weaving method step by step, plus the quicker alternatives, how many lights you need and how to keep everything safe.
What you need before you start
Get the tree fully set up before a single light goes on. That means the tree is secure in its stand, the stand is filled with water if it is a real tree, and the branches have had time to drop and settle.
You will need:
- Enough lights. Roughly 100 bulbs per foot of height for a well-lit look. Our guide to the best Christmas tree lights covers colour, LED versus filament and what to check for safety.
- A socket nearby. Ideally the tree sits within reach of a socket so you do not need a trailing extension lead.
- A step stool that is stable, for the top section.
- A plug-in timer (optional but handy).
Unpack the lights and test every set while it is still on the floor. Finding a faulty string halfway up the tree is the most annoying job of the whole season. Check the cables, plugs and transformers for damage, and put aside anything cracked or frayed.

When to put lights on a real Christmas tree
Put the lights on once a real tree has settled, usually the day after you bring it home. A freshly unwrapped tree has its branches pointing upwards from the netting. Given a night in a warm room, they relax and drop into their natural shape, leaving gaps that are perfect for lights.
An artificial tree needs a different kind of preparation: every tip has to be shaped by hand. Our guide on how to fluff a Christmas tree covers both kinds, and it is worth doing before any lights go on.
Make sure the cut trunk is sitting in water from the start. A tree that drinks well holds its needles and stays safer under lights, so read up on how to keep a Christmas tree alive if this is your first real tree.
How to put lights on a Christmas tree, step by step
The weaving method puts lights at different depths, so the tree glows from the trunk outwards.
- Plug in the first set. Keep it switched on while you work so you can see the effect as you go.
- Start at the bottom, at the back. Begin near the trunk on the side closest to the socket.
- Run the string along a branch. Take the lights out along the top of a lower branch to the tip, then loop back along the underside towards the trunk.
- Move to the next branch. Carry on round the tree, branch by branch, working outwards and inwards as you go.
- Work upwards in layers. When you have been round once, move up a level and repeat. Branches get shorter towards the top, so the lights will naturally tighten up.
- Join the next set carefully. Only connect sets that are designed to link together, and tuck the connectors into the foliage.
- Finish at the top. Wind any spare length gently around the top section or tuck it in, rather than leaving a dangling end.
Every so often, step back and squint. Gaps and bright clumps show up instantly through half-closed eyes. Fix them now, before the baubles go on.
Weaving, spiralling or the vertical method?
Weaving gives the best result, but it is not the only way. Here is how the three common methods compare:
| Method | How it works | Best for |
|---|---|---|
| Weaving | String runs along each branch and back towards the trunk | A full, deep glow on any tree |
| Spiral wrap | String is walked round the outside from bottom to top | Speed, or very slim trees |
| Vertical sections | Lights run up and down in a zigzag within one wedge of the tree at a time | Wide trees and easy removal |
The vertical method divides the tree into wedges, like slices of a cake, and zigzags each set up and down one section. It makes the lights quick to take off in January and suits bushy Nordmann firs. A spiral wrap is fine on a small tree but tends to leave dark bands and the lights all sit on the surface.
How do you know if you have enough lights?
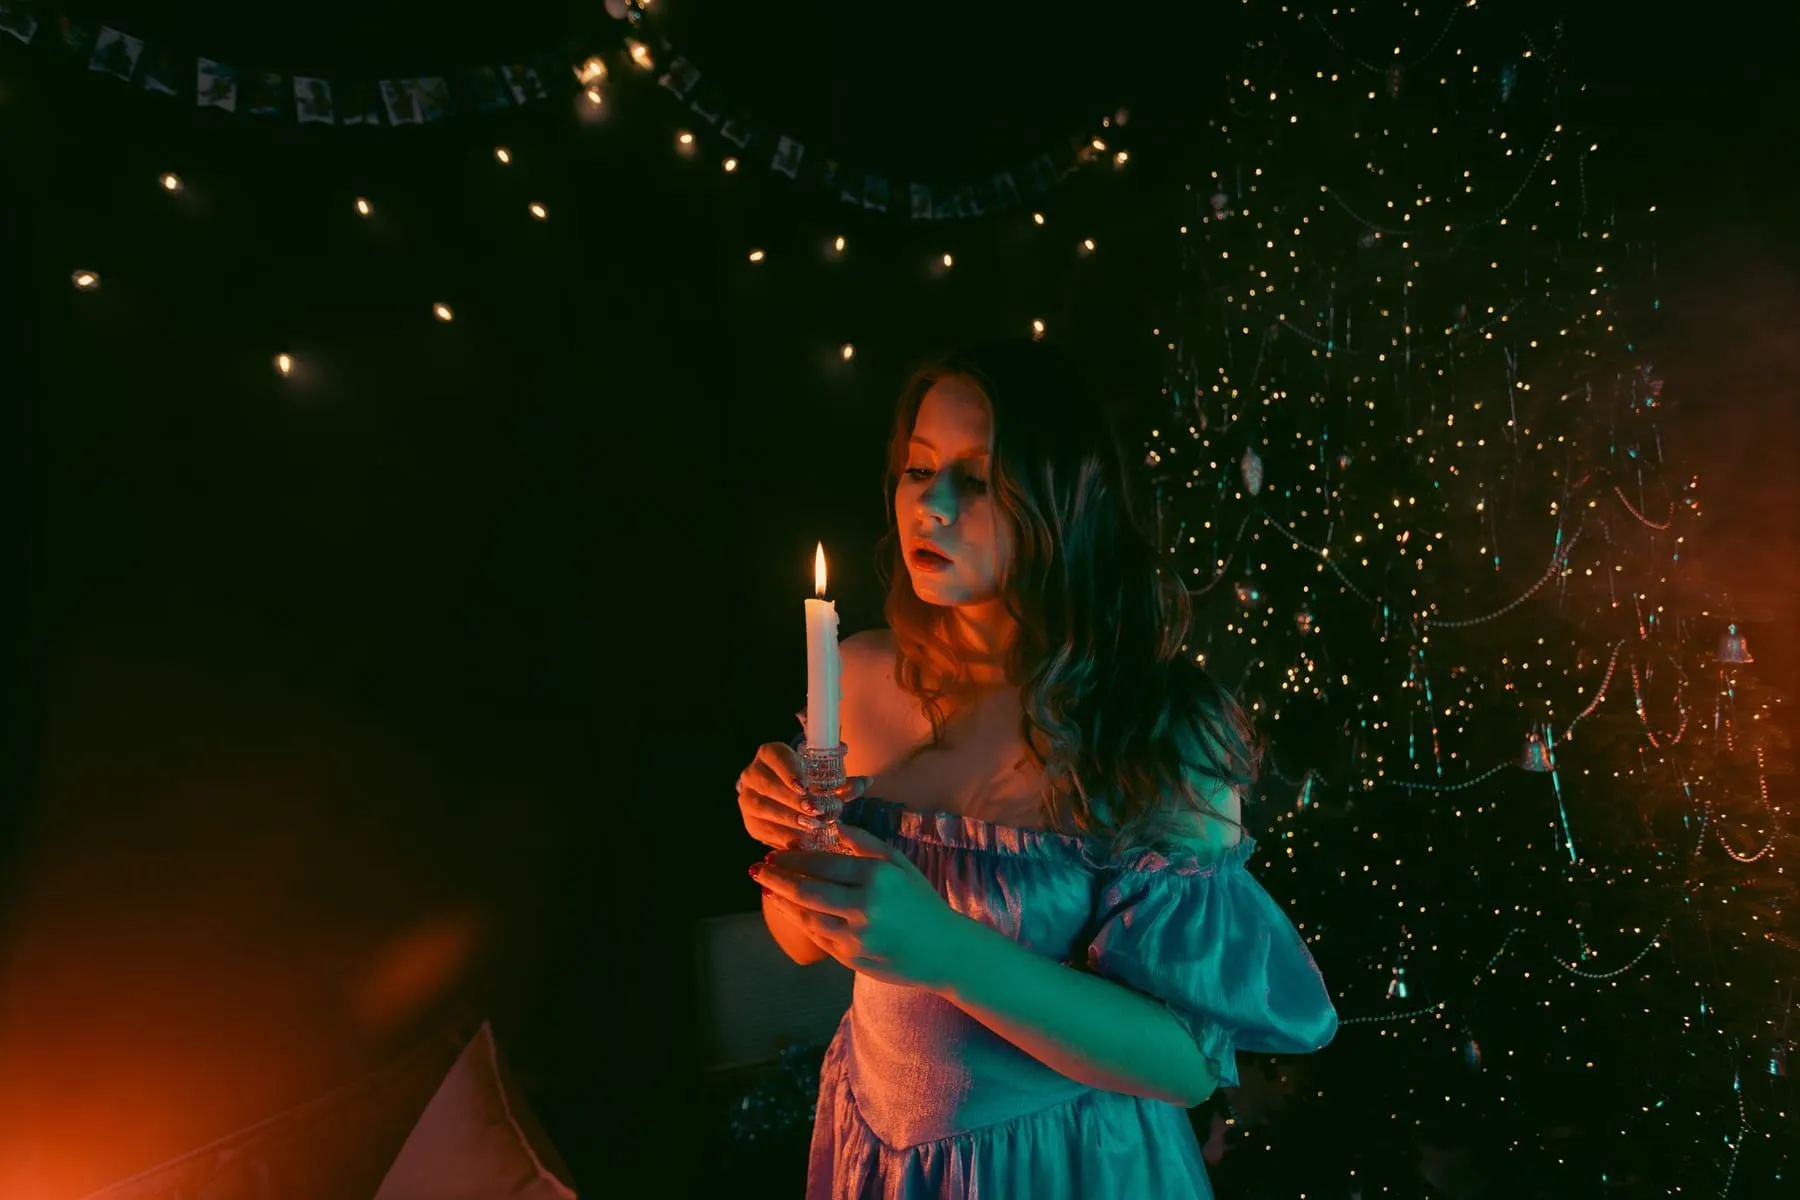
Switch off the room lights and look at the tree from where you will usually see it. If you can spot dark patches, especially in the middle and lower third, you need more lights. Most people underestimate how many a real tree takes because the branches have so much depth.
As a guide, a 6 ft tree looks well lit with around 600 bulbs and properly glowing with 900 or more. Wider trees need more than narrow ones of the same height.
If you are short, add another set from the same range to the lower half, where gaps are most visible. It is better to add a set now than to try fitting one in after the baubles are on.

Safety tips for Christmas tree lights
A few simple habits keep lights safe all season:
- Switch off at night. Turn off and unplug the tree lights when you go to bed or go out. A timer makes this automatic.
- Do not overload sockets. Avoid chains of adaptors and extension leads. If you must use a lead, choose a single good-quality one and do not run it under a rug.
- Keep the transformer dry. Place the transformer and any connectors away from the tree stand, so a top-up of water never splashes them.
- Never join different sets. Only connect lights that are made to link together.
- Check daily. If a cable feels warm, a bulb is cracked or the lights flicker unexpectedly, unplug them and investigate.
- Think about pets. Cats and puppies love dangling cables. Tuck the lower loops in, run the lead tight to the wall, and read our tips on keeping cats away from the Christmas tree.

How to take lights off and store them
When the tree comes down, take the lights off first, in reverse: start at the top and unwind slowly, rather than pulling. Wind each set around a piece of stiff card, a spare reel or your hand and elbow, and label which sets belong together.
Store them somewhere cool and dry, ideally not in a loft that gets very hot or damp. Next year, test them on the floor before they go anywhere near the tree. Our guide on when to take down your Christmas tree covers the timing and the traditions.
Once the lights are on, the fun part begins. Move on to our guide on how to decorate a Christmas tree for garland, baubles and toppers. And if you still need a tree, find a Christmas tree farm near you and choose one with full, open branches that will hold the lights well.
Questions people ask
Do you put lights on a Christmas tree top to bottom or bottom to top?
Most people find it easiest to start at the bottom, near the socket, and work up. That way the plug end is where you need it and any spare length ends up at the top, where it can be tucked away or wound around the leader.
Should Christmas lights go on before or after tinsel and garland?
Lights always go on first. Garland, ribbon and tinsel come next, then baubles, so nothing has to be moved to fit the lights in.
How long does it take to put lights on a tree?
Weaving lights properly on a 6 ft tree usually takes somewhere around 30 minutes to an hour. Spiralling them around the outside is quicker but gives a flatter result.
Why is half my string of lights not working?
On older filament sets, one loose or failed bulb can stop a section working. On LED sets it is more often a fault in the cable, plug fuse or controller, so check the fuse and connections, and replace the set if the cable is damaged.
Can I put lights on a tree that is still in its net?
No. Take the net off and give the branches time to drop and settle first, ideally overnight. Lighting a tree that has not opened out will leave the lights squashed against the trunk.